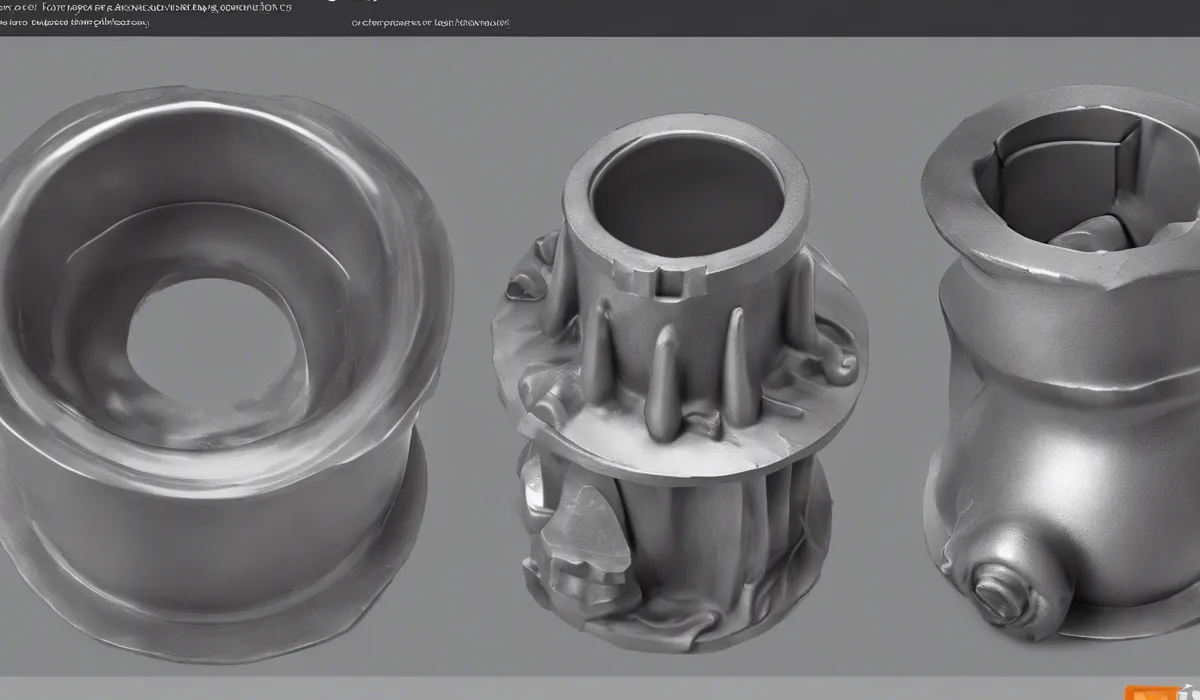
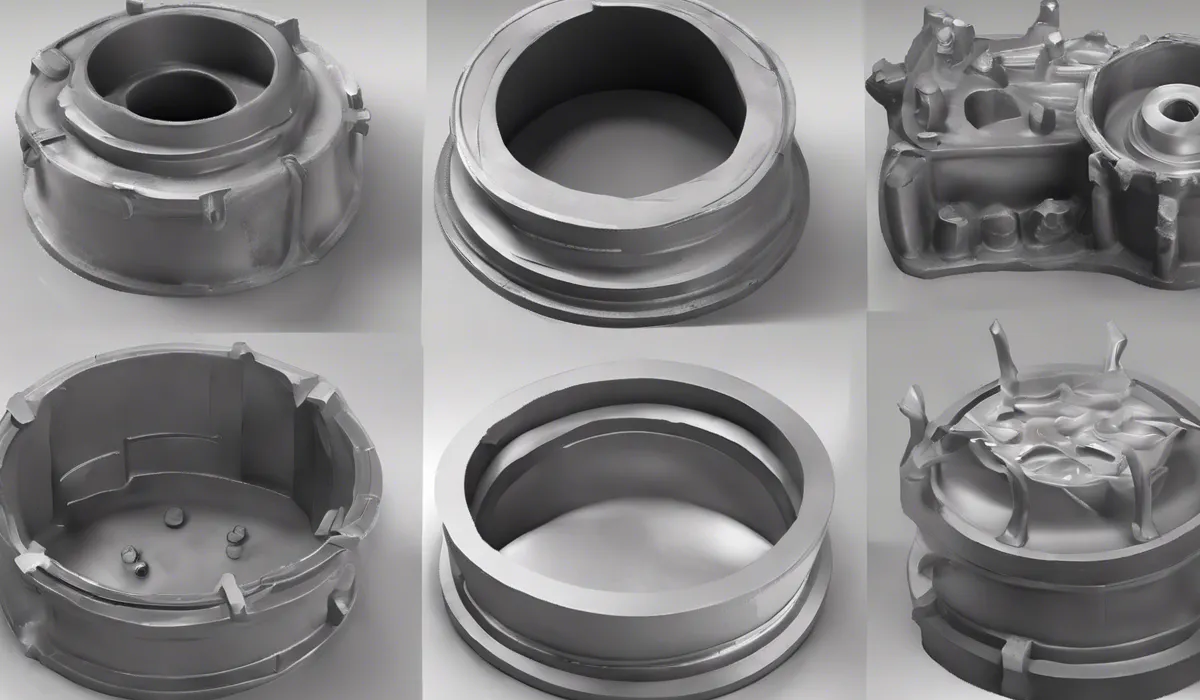
To make a casting mold for metal, first design the mold pattern with the desired shape. Create a sand or plaster mixture, then press the pattern into it to form a cavity. Remove the pattern, leaving the cavity to pour the molten metal into. Allow the metal to cool and solidify before extracting.
Basics of Metal Casting Molds

What is a Casting Mold?
A casting mold is a hollow container used to give shape to molten metal. Think of it like a jelly mold that shapes your dessert.
In metalworking, the mold is filled with liquid metal which then cools and hardens into the desired form. It’s the blueprint that dictates the shape and intricacies of the final metal product.
Exploring Types of Casting Molds
There are several types of casting molds, each with its unique properties. Sand molds are economical and easy to make, but they’re not reusable.
Ceramic molds provide high precision and are good for complex shapes. Investment molds, made by surrounding a wax pattern with a ceramic slurry, offer excellent surface finish and detail.
Each type serves different needs based on the complexity and production requirements of the casting.
The Role of a Mold in Metal Casting
The mold is crucial in metal casting. It’s not just about shaping; it’s also about controlling how the metal cools and solidifies.
A well-made mold ensures the metal fills every corner properly, cools uniformly, and results in a cast that has the correct dimensions and properties.
Metals Suited for Casting
Not all metals are created equal when it comes to casting. Aluminum, bronze, iron, steel, and gold are some of the most commonly cast metals.
Each metal has a specific melting point and characteristics that influence the choice of mold material and casting process.
Preparing to Make a Metal Casting Mold

Designing Your Casted Object
Before making a mold, you need a design. This means deciding on the size, shape, and features of the object you want to make.
The design process can start with a drawing or a computer model and is critical in creating a successful final product.
Choosing the Right Mold Material
Selecting the appropriate mold material is a key decision. The mold must withstand the temperature of the molten metal without degrading.
For high-temperature metals like steel, ceramic or investment molds are often used, while sand molds can be a good fit for metals with lower melting points, like aluminum.
Tools and Equipment Needed
To make a mold, you’ll need tools and equipment. This could include a pattern, a flask to hold the mold, and tools for packing and shaping the mold material.
The exact tools will depend on the type of mold you’re making.
Safety First: Protective Gear
Working with molten metal is dangerous, so safety is paramount. Wear protective gear such as heat-resistant gloves, a face shield, and a foundry apron to protect yourself from burns and injuries.
Step-by-Step Process of Making a Metal Casting Mold

Crafting a Pattern
The first step is to create a pattern of the object you want to cast. This pattern is usually made from wood, plastic, or metal and should be carefully crafted to represent the final product.
Assembling the Mold Flask
A mold flask, a frame around the pattern, helps hold everything in place. Assembling the flask correctly is important for ensuring the mold holds its shape during the casting process.
Packing the Mold Material
Next, pack the mold material, such as sand or ceramic, around the pattern in the flask. This step must be done carefully to avoid air pockets or gaps that can cause defects in the final casting.
Creating the Mold Cavity
After the mold material sets, remove the pattern. This leaves a cavity in the shape of your design.
It’s important that this cavity is precise, as any imperfections can be transferred to the cast metal.
The Pouring Process
With the cavity ready, carefully pour the molten metal into the mold. This must be done steadily and at the right temperature to ensure a good quality casting.
Cooling and Solidification
Once the metal is poured, it needs time to cool and solidify. The cooling rate can affect the properties of the metal, so it’s often controlled as part of the casting process.
Breaking Away the Mold
After the metal has solidified, the next step is to remove the cast object from the mold. For some mold types, this means breaking the mold apart, while other molds are designed to be opened without destruction.
Finishing the Casted Object
Finally, the cast object often requires finishing processes. This can include trimming excess material, polishing to improve the surface finish, or heat treating to enhance the metal’s properties.
FAQs About Making a Casting Mold for Metal
What materials are needed to create a casting mold for metal?
The primary materials needed include a pattern of the desired shape, and a mixture of sand or plaster to create the mold cavity.
How do you form the cavity in a casting mold?
The cavity is formed by pressing the pattern into the sand or plaster mixture and then removing the pattern, leaving behind the impression for the molten metal.
Can you reuse the casting mold for metal once it’s been used?
Some molds, especially those made from certain types of sand mixtures, are designed for one-time use and will be destroyed to extract the cast metal part. However, molds made from more durable materials may be reused.
What types of metal can be cast using a sand or plaster mold?
Many metals, including iron, steel, aluminum, bronze, and brass, can be cast using a sand or plaster mold.
How long does it take for the metal to cool and solidify in the mold?
The cooling time varies depending on the type of metal and the size of the casting, but it typically ranges from several minutes to several hours.
Final Thoughts
Casting a mold for metal involves designing a pattern and creating a cavity in sand or plaster.
The pattern is removed after imprinting its shape, and molten metal is poured into this cavity. Following a cooling period, the now-solid metal is extracted, resulting in the desired form.
