For optimal performance against mold and mildew, apply one to two coats of Kilz mold and mildew resistant primer.
Allow the first coat to dry completely before applying the second for best results. Follow the manufacturer’s specific instructions for drying times and application methods.
Kilz Mold and Mildew Products

Description of Kilz Mold and Mildew Products
Kilz Mold and Mildew products are specially formulated primers designed to inhibit the growth of mold and mildew on a variety of surfaces.
These primers create a barrier that resists moisture, which is the primary cause of mold and mildew development in homes.
Kilz products are often used as a preparatory step before painting to ensure a clean and stable surface that enhances the durability and appearance of the final paint job.
Benefits of Using Kilz for Mold and Mildew Issues
Applying Kilz primer offers several benefits. It not only hides existing stains and odors but also provides a foundation that helps prevent the future growth of mold and mildew.
Additionally, Kilz primers can improve the adhesion of paint, leading to a longer-lasting finish.
Homeowners can breathe easier knowing that their walls are protected against the damaging effects of moisture.
Types of Surfaces and Areas Where Kilz Can Be Applied
Kilz Mold and Mildew products are versatile and can be applied on various surfaces including drywall, wood, plaster, masonry, and even metal.
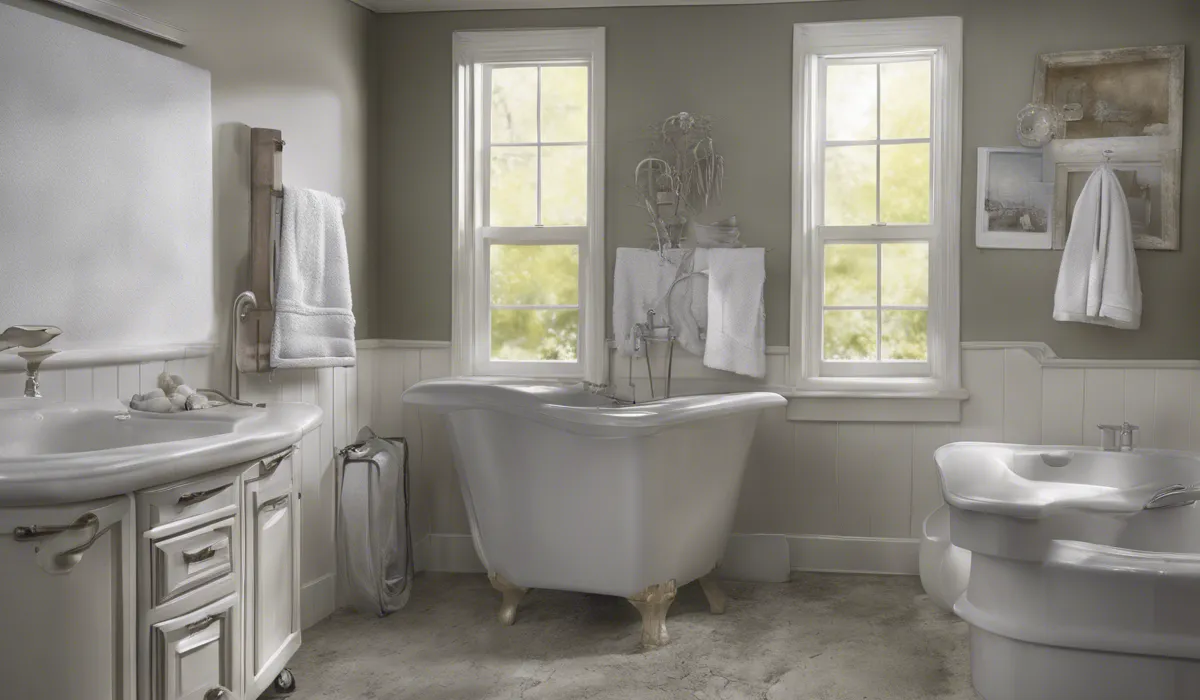
They are ideal for moisture-prone areas such as bathrooms, kitchens, basements, and laundry rooms.
No matter where you have concerns about mold and mildew, Kilz has a solution that can be tailored to meet your needs.
Preparing the Surface for Kilz Application

Cleaning the Area and Removing Existing Mold and Mildew
Before applying Kilz primer, it is crucial to thoroughly clean the area. Remove any visible mold and mildew with a solution of bleach and water or a specialized cleaning product.
This step ensures that the primer can effectively adhere to the surface and perform its protective function.
Drying the Surface Thoroughly Before Application
Once the cleaning is complete, allow the surface to dry completely. Moisture trapped beneath the primer can lead to problems down the line, so patience in drying is key.
Use fans or dehumidifiers if necessary to speed up the process, especially in areas with limited ventilation.
Taping Off and Covering Areas
Protect areas that should not receive primer by using painter’s tape and drop cloths. This includes trim, hardware, and any adjacent surfaces that you want to keep clean.
Proper preparation at this stage makes for a neater application and easier cleanup.
Application Process for Kilz Mold and Mildew Products

Stirring or Shaking the Product Before Use
Before opening the can, make sure to stir or shake the Kilz product well to ensure that all components are thoroughly mixed.
This action helps achieve a consistent texture and color, providing a uniform barrier against mold and mildew.
Recommended Application Tools
For applying Kilz primer, you can use a brush, roller, or sprayer.
Each tool has its advantages, with brushes being great for detail work and tight spots, rollers offering efficiency for larger surfaces, and sprayers providing a smooth, even coat.
Choose the tool that best suits your project and skill level.
Applying the First Coat of Kilz Primer
Apply the first coat of Kilz primer with your chosen tool, ensuring full coverage of the area. Work in sections, maintaining a wet edge to avoid lap marks.
It is better to apply a thinner, even coat rather than a thick, uneven one that might sag or take longer to dry.
Drying Time Before Applying Subsequent Coats
After the first coat, wait for it to dry completely before considering a second coat.
The drying time can vary based on humidity, temperature, and ventilation, so check the manufacturer’s instructions for specific guidance.
Determining if a Second Coat Is Necessary
Once the first coat is dry, examine the coverage. If the original stains are still visible or if the surface is highly porous, a second coat may be needed for optimal protection.
Remember that two thin coats are often better than one thick coat.
Tips for Even Application and Professional-Looking Results
To achieve professional-looking results, maintain a steady hand and even pressure when applying Kilz primer.
Overlap each stroke or pass slightly to ensure complete coverage without gaps or streaks.
If using a sprayer, keep it at a consistent distance from the surface and move in a smooth, linear motion.
FAQs About Kilz Mold and Mildew Primer Coats
How many coats of Kilz mold and mildew primer are recommended for optimal performance?
For optimal performance, it is recommended to apply one to two coats of Kilz mold and mildew resistant primer.
Should you let the first coat of Kilz primer dry before applying a second one?
Yes, allow the first coat to dry completely before applying the second coat to ensure the best results.
How long should you wait for the Kilz primer to dry between coats?
Follow the manufacturer’s specific instructions for drying times between coats, as it can vary based on conditions like humidity and temperature.
Can you apply more than two coats of Kilz mold and mildew primer if needed?
While one to two coats are usually sufficient, always refer to the manufacturer’s guidelines for additional coats and their potential benefits or requirements.
Is there a specific method for applying Kilz mold and mildew resistant primer?
Yes, the manufacturer provides specific instructions for application methods, which should be followed for best results.
Final Thoughts
To combat mold and mildew effectively, applying one to two coats of Kilz mold and mildew resistant primer is recommended.
Ensure the first coat is completely dry before adding a second to achieve the best protection.
Adherence to the manufacturer’s guidelines for drying times and application techniques is crucial for optimal performance.
