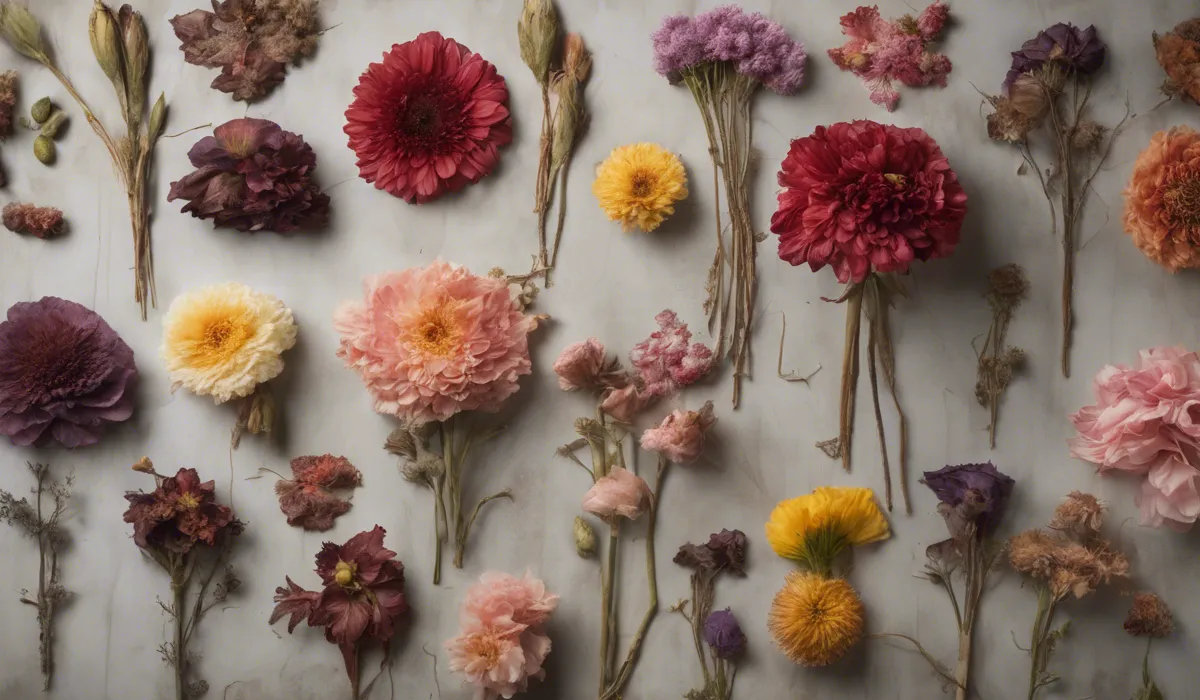
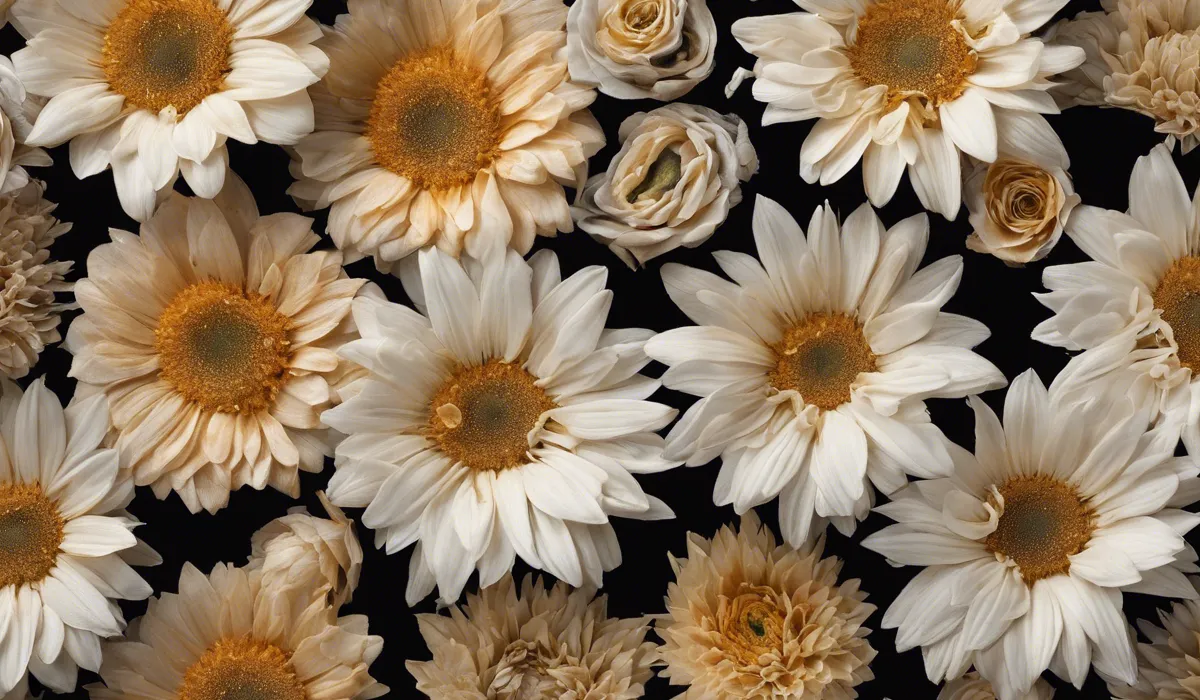
To dry flowers without mold, select fresh blooms, tie them in small bunches, and hang them upside-down in a warm, dry, well-ventilated area away from direct sunlight. Check periodically for dryness and remove any wilted or moldy parts promptly.
Selecting the Right Flowers for Drying

Importance of Choosing Fresh and Mold-Free Flowers
To begin the process of drying flowers, it is crucial to start with the healthiest and freshest specimens.
Flowers that show signs of mold or are beginning to wilt are less likely to dry successfully, and their imperfections may become more pronounced.
Mold is particularly insidious; it can spread to other flowers and ruin entire bunches during the drying process.
Selecting fresh and mold-free flowers ensures not only aesthetic beauty but also the longevity of your dried arrangements.
Best Types of Flowers for Drying
Some flowers are better suited for drying than others. Look for blooms with sturdy petals and low moisture content.
Popular choices include roses, lavender, hydrangeas, and globe amaranth. Flowers with delicate, thin petals are more challenging to dry and may not retain their shape well.
Experimenting with different types can help you discover which ones dry best in your environment.
Timing: When to Cut Flowers for Optimal Drying
The best time to cut flowers for drying is in the late morning after the dew has evaporated but before the heat of the day sets in.
This ensures the blooms are as dry as possible from the start, reducing the risk of mold developing during the drying process.
Additionally, choosing flowers that are about to reach full bloom means they will open further as they dry, resulting in a more attractive final product.
Preparing Flowers for Drying

Cleaning the Flowers and Removing Excess Foliage
Before drying, clean the flowers gently to remove any dirt or insects. This can be done by lightly shaking them or using a soft brush.
Additionally, remove excess foliage that may hold moisture and contribute to mold growth.
Leaves close to the bloom are often kept for aesthetic reasons but ensure they are clean and free of imperfections.
Splitting or Cutting Stems for Efficient Drying
Thick stems can trap moisture and take longer to dry, which increases the risk of mold. To avoid this, split or cut the stems lengthwise to allow for better airflow and quicker drying.
For flowers with very thick stems, like roses, you may even consider removing the stem entirely and drying the heads separately.
Techniques for Tying and Grouping Flowers
Once prepared, tie the flowers into small bunches using string or rubber bands. Small groupings allow for better air circulation around each bloom.
Hang these bunches upside down from hooks or hangers in a suitable drying location. Ensure they do not touch each other to prevent the retention of moisture and to allow for uniform drying.
Drying Methods to Prevent Mold

Air Drying: Hanging Flowers Upside Down
Air drying is the most traditional method of preserving flowers. Hang tied bunches upside down in a warm, dry, and well-ventilated space away from direct sunlight.
Spaces like attics, unused closets, or any area with consistent airflow work well. The key is to ensure the environment is not humid, as moisture is the primary cause of mold. Flowers typically take one to three weeks to dry completely using this method.
Silica Gel Drying: Absorbing Moisture Quickly
For quicker drying, silica gel can be used to absorb moisture from the petals and stems effectively. This method is ideal for preserving the shape and color of the flowers.
Silica gel can be found at craft stores and is used by covering the flowers in an airtight container.
It usually takes a few days to a week for flowers to dry using silica gel, depending on the size and type of flower.
Microwave Drying: A Faster Method Using Microwave and Silica Gel
If you are short on time, microwave drying combined with silica gel can provide a quick and efficient drying method.
Place the flower in a microwave-safe container with silica gel and heat it in short intervals, checking frequently to avoid over-drying.
This method can dry flowers in a matter of minutes, yet it requires careful attention to avoid damaging the blooms.
Oven Drying: Temperature and Time Guidelines
Oven drying is another alternative that is slightly slower than microwave drying but can be more controlled.
Preheat the oven to a low temperature (below 200°F), and place the flowers on a baking sheet. The door of the oven should remain slightly open to allow moisture to escape.
Check the flowers regularly, as oven drying can take a few hours depending on the flower type and oven model.
Tips to Ensure Proper Airflow and Prevent Moisture Buildup
Regardless of the drying method chosen, maintaining proper airflow is essential. Use fans or open windows to encourage air movement in the drying area.
If using containers for silica gel drying, ensure they are sealed properly but checked regularly. Space out flowers on racks or screens when oven drying to allow for even air distribution.
Checking for Dryness and Signs of Mold During the Process
Throughout the drying process, check the flowers periodically for dryness and any signs of mold.
If mold is detected, remove the affected parts immediately to prevent it from spreading. Flowers are considered fully dry when they feel papery to the touch.
At this point, they should be removed from the drying area to prevent over-drying or brittleness.
FAQs About Drying Flowers Without Mold
What is the best way to select flowers for drying without mold?
Choose fresh, blemish-free blooms that are not fully opened, as they continue to open slightly during the drying process.
How should flowers be prepared for drying to prevent mold?
Tie them in small bunches with string or rubber bands, ensuring there is enough space between the flowers for air to circulate.
Where is the ideal place to hang flowers for drying?
Hang the flowers upside-down in a warm, dry, and well-ventilated area, away from direct sunlight, to prevent fading and mold growth.
How do you know when the flowers are fully dried and safe from mold?
Check the flowers periodically; they are dry when they feel papery to the touch, which can take anywhere from a few days to a few weeks, depending on the flower type and environmental conditions.
What should be done if wilted or moldy parts are found during the drying process?
Remove any wilted or moldy parts immediately to prevent the spread of mold to other parts of the flower or other flowers in the bunch.
Final Thoughts
To successfully dry flowers without mold, begin with fresh specimens and form small bunches.
Hang them upside-down in a location that’s warm, dry, and has good air circulation, while avoiding sunlight.
Monitor the drying process and promptly discard any flowers that show signs of wilting or mold to ensure a pristine final product.
