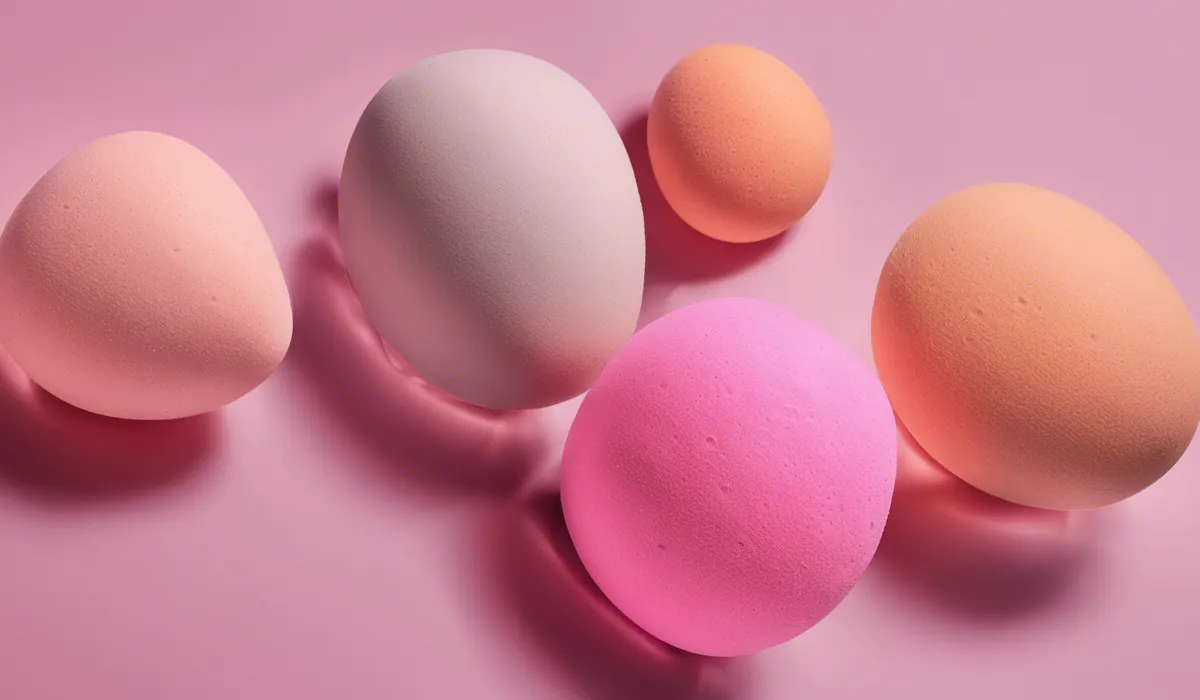
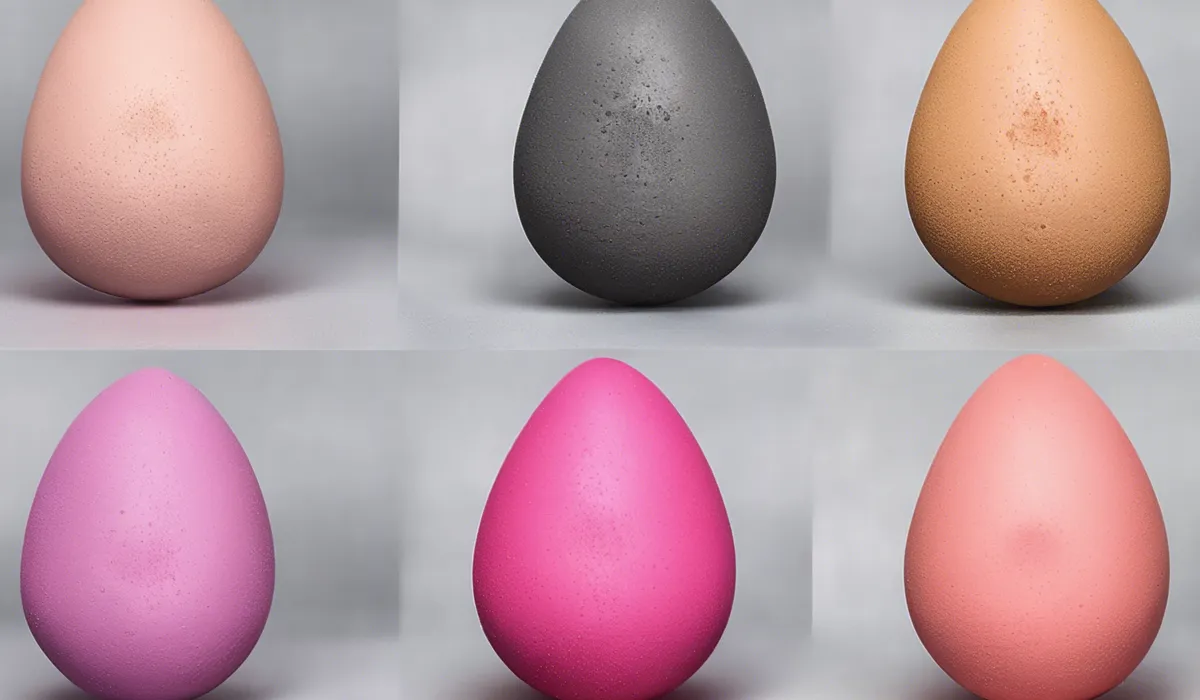
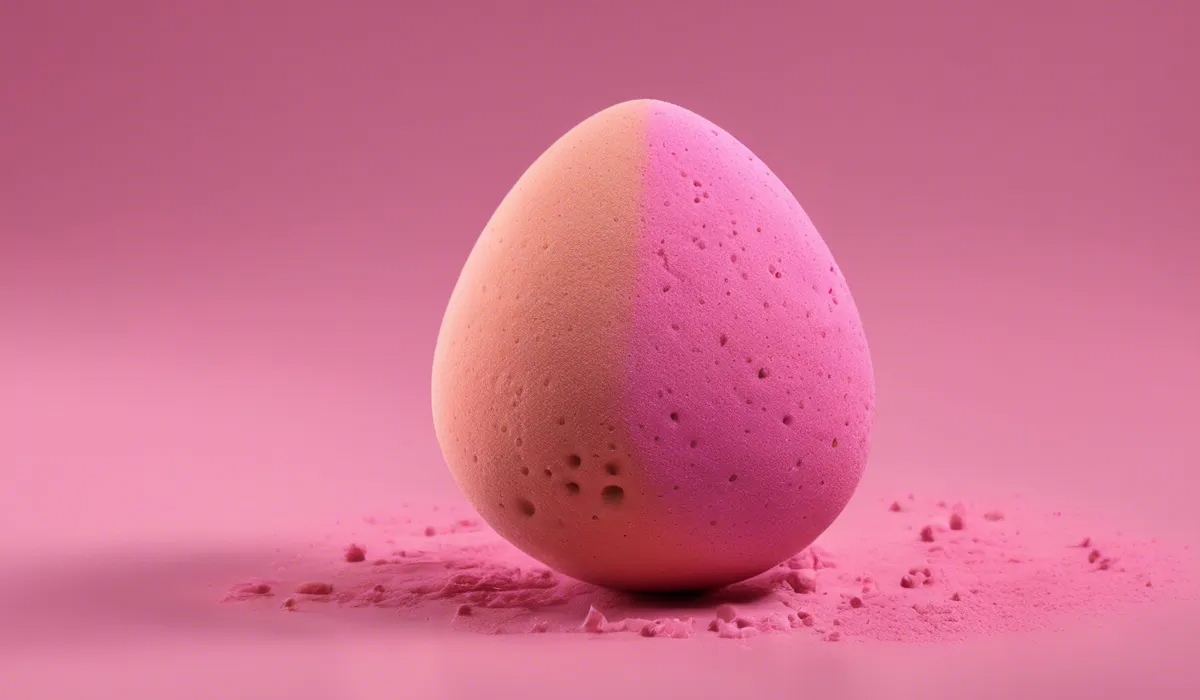
To remove mold from a beauty blender, soak it in a mixture of warm water and gentle soap for a few minutes. Squeeze the sponge under the water to work out the mold. Rinse thoroughly, then microwave the damp sponge for 60 seconds to kill any remaining spores. Allow it to air dry completely.
Understanding Mold on Beauty Blenders

What is Mold?
Mold is a type of fungus that grows in multicellular structures called hyphae. These tiny spores thrive in damp environments and reproduce rapidly, often leading to visible colonies that can appear fuzzy or slimy.
Mold comes in various colors, including black, green, white, or even pink, and it can develop on a multitude of surfaces, including fabric, walls, and, unfortunately, beauty blenders.
Conditions for Mold Growth on Beauty Blenders
Beauty blenders are susceptible to mold when they remain damp and are stored in warm, poorly ventilated areas. This creates an ideal breeding ground for mold spores.
Not allowing your beauty blender to dry completely between uses can also contribute to mold growth.
Health Risks of Using a Moldy Beauty Blender
Using a moldy beauty blender can pose health risks, including skin irritation, allergic reactions, and even respiratory issues if the spores become airborne.
When you apply makeup with a mold-infested blender, you risk transferring harmful bacteria and mold spores onto your skin, which can lead to breakouts or infections.
Signs of Mold on Your Beauty Blender
Recognizing mold on your beauty blender is crucial. Look for discoloration, a musty smell, or a change in texture.
If you spot any of these signs, it’s time to take action to clean your beauty blender or replace it to prevent possible health issues.
Preventative Measures to Keep Your Beauty Blender Mold-Free

Proper Beauty Blender Storage
Storing your beauty blender in a well-ventilated area and ensuring that it is completely dry before storage is vital to prevent mold growth.
Consider using a breathable mesh bag or a holder with proper airflow to keep your beauty blender safe and dry.
Regular Cleaning and Drying
Cleaning your beauty blender after every use and allowing it to air dry in an open space can significantly reduce the risk of mold.
Use gentle, effective cleaners and ensure the sponge is thoroughly rinsed to remove all soap residue before drying.
Maintaining a Hygienic Environment
Keeping your makeup station clean is as important as cleaning your tools.
Wipe down surfaces regularly and wash your hands before handling your beauty blender to minimize the transfer of germs.
Recommended Cleaning Products
Investing in specialized beauty blender cleansers or gentle, fragrance-free soaps can help keep your sponge clean and extend its lifespan.
Avoid harsh chemicals that can break down the sponge’s material.
Guide to Removing Mold from a Beauty Blender

Initial Assessment and Discarding a Beauty Blender
Before attempting to clean mold from your beauty blender, assess the extent of the infestation.
If the mold has penetrated deeply or the sponge is heavily soiled, it’s safer to discard it to avoid potential health hazards.
Necessary Materials for Mold Removal
To remove mold, you’ll need warm water, a gentle soap or anti-fungal cleaner, a small bowl, and a clean towel for drying.
If opting for a natural approach, vinegar or rubbing alcohol can be used as a disinfectant in subsequent steps.
Detailed Cleaning Process to Eliminate Mold
Begin the cleaning process by thoroughly rinsing your beauty blender under warm water. This will help loosen the mold and prepare the sponge for a deeper clean.
Next, apply an anti-fungal cleaner or gentle soap directly to the affected areas. Gently squeeze and massage the cleaner into the sponge to target the mold.
Rinse the sponge under warm water again to remove the cleaner and any loosened mold spores.
Disinfecting the Beauty Blender
After the initial cleaning, soak the beauty blender in a vinegar or alcohol solution to disinfect it.
Vinegar’s acidity or alcohol’s antiseptic properties can kill remaining mold spores. Ensure the sponge is fully submerged and leave it for a few minutes before rinsing again.
Final Drying Steps
Once disinfected, remove excess moisture by squeezing the beauty blender with a clean towel.
Then, leave it to air dry completely in an open space, away from direct heat or sunlight, to prevent any moisture from being trapped inside.
Post-Cleaning Care Tips
To ensure your beauty blender remains clean and functional, store it properly, and avoid using it when damp.
Repeat the cleaning process regularly and monitor your beauty blender for any signs of wear or mold reoccurrence.
FAQs About Removing Mold from Beauty Blenders
How can I tell if my beauty blender has mold?
Look for discoloration, black spots, or a musty smell, which can all indicate the presence of mold on your beauty blender.
What is the best soap to use to clean mold off a beauty blender?
Use a gentle, fragrance-free soap or a soap specifically designed for cleaning beauty sponges and makeup brushes.
How long should I soak the beauty blender to remove mold?
Soak the beauty blender in warm, soapy water for a few minutes before squeezing it under water to work out the mold.
Can I use the microwave to kill mold on a beauty blender?
Yes, microwaving a damp sponge for 60 seconds can kill remaining mold spores after cleaning it.
How should I dry my beauty blender after removing mold?
After cleaning and microwaving, allow the beauty blender to air dry completely in a well-ventilated area.
Final Thoughts
To effectively remove mold from a beauty blender, immerse it in warm, soapy water, then squeeze to eliminate mold.
Post-rinsing, microwaving the damp sponge for a minute will exterminate any lingering spores. Ensuring the sponge air dries thoroughly is crucial for preventing future mold growth.
