To mold leather, wet the material with water until pliable. Shape it around a form or by hand to the desired shape. Allow the leather to dry completely, retaining the molded form. Use a sealer to finish and protect the shaped piece.
Preparing the Leather
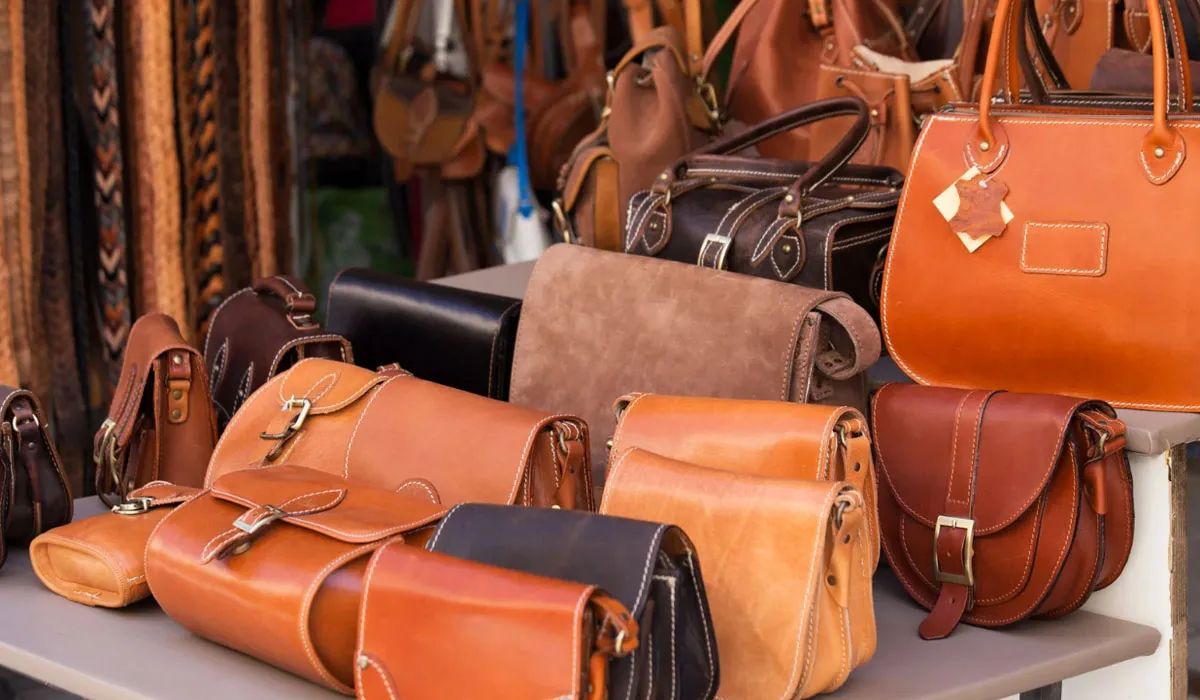
Selecting the Appropriate Leather Type
Choosing the right type of leather is crucial for your molding project. Vegetable-tanned leather is ideal for molding because of its ability to retain shape after drying.
Look for a piece that is uniform in thickness and free of scars or blemishes. The thickness of the leather should suit your project; thicker leather for sturdier items and thinner leather for more delicate pieces.
Cutting the Leather to Size
Once you’ve selected your leather, measure and cut it to the size needed for your project. Use a sharp knife or rotary cutter to achieve clean edges.
Remember to leave a little extra leather around the edges to account for any potential shrinkage or trimming later on.
Tools and Materials Needed for Molding
Gather your tools before you begin. You’ll need a container for water, sponges or brushes, a smoothing tool like a bone folder, and any molds or forms you plan to use.
Keep a cutting surface and a utility knife on hand for adjustments during the process.
Conditioning the Leather for Flexibility
Conditioning the leather helps to ensure it molds smoothly. Apply a leather conditioner evenly across the surface, following the product’s instructions.
This step will make the leather more pliable and easier to work with during the molding process.
Molding Process
Wetting the Leather Uniformly
Begin the molding process by wetting the leather. Submerge the leather in water or use a sponge to apply it evenly until the leather feels pliable.
Be careful not to over-soak as this can weaken the leather’s fibers.
Techniques for shaping
You can shape leather by hand, by draping it over or pressing it into a mold, or by using tools to compress the leather into shape.
When hand-forming, work the leather gently to avoid stretching it out of shape. For more precise shapes, use a wooden or plastic mold as a guide.
Secure the Leather in Place
Once the leather is shaped, secure it to the mold or form with clamps or weights. This will hold the leather in position as it dries and helps to ensure it maintains the desired shape.
Natural vs Accelerated Drying
Allow the leather to dry naturally in a well-ventilated area away from direct heat sources. If time is a constraint, consider using a fan or dehumidifier to speed up the process, but avoid using heat as it can warp or crack the leather.
Finishing Touches
Trimming and Cleaning the Edges
Once the leather is dry, remove any clamps or weights and trim the edges if needed. Use a sharp knife for a clean cut, removing any excess leather for a neat finish.
Then, clean the edges by sanding them lightly or using an edge beveler for a rounded look.
Applying Finish to the Leather
Apply a finish to protect the leather and give it a polished look. You can use a leather sealer or a wax-based product, applying it evenly across the surface.
Be sure to cover every part of the leather for consistent protection.
Buffing and Polishing for a Professional Look
After the finish has dried, buff the leather with a soft cloth to bring out a natural shine. For a more pronounced sheen, use a leather polish and rub it in circular motions until you achieve the desired luster.
Maintenance Tips for the Molded Leather Item
To maintain your molded leather item, keep it clean and conditioned. Wipe it down with a damp cloth when needed and apply a leather conditioner every few months to keep it supple.
Store your leather item in a cool, dry place away from direct sunlight to prevent fading and drying out.
FAQs About Molding Leather
What is the best way to wet leather for molding?
Wet the leather evenly with water until it becomes pliable, but not soaked through, for effective molding.
How do you shape leather during the molding process?
Shape the leather by wrapping it around a form or shaping it by hand to achieve the desired contour before it dries.
How long should molded leather take to dry?
Allow the leather to dry completely, which can take several hours to a few days, depending on the thickness and environmental conditions.
Do I need to use a sealer after molding leather?
Yes, using a sealer after the leather has dried will finish and protect the molded piece.
Can any type of leather be molded?
Not all leathers are suitable for molding. Vegetable-tanned leather is the best choice for molding, as it’s more pliable when wet and retains shape upon drying.
Final Thoughts
Molding leather involves moistening it to become pliable, then shaping around a form or by hand.
Once the leather is shaped to satisfaction, it must be left to dry thoroughly to maintain the new form. Finishing with a sealer ensures the molded leather piece is protected and preserved.