To remove black mold from wood, mix a solution of 1 part vinegar to 1 part water. Apply it directly to the moldy area.
Scrub with a stiff brush, then wipe the surface with a clean cloth. Dry the wood completely to prevent regrowth. Seal with an anti-mold paint if desired.
Identification of Black Mold on Wood
Understanding What Black Mold Is
Black mold, known scientifically as Stachybotrys chartarum, is a type of fungus that thrives in damp, humid conditions.
This mold can appear as dark spots or patches on various surfaces, including wood. It feeds on organic materials in the wood, such as cellulose, and grows rapidly in the right conditions.
Understanding black mold is crucial because it can impact both your health and the integrity of your home.
Signs and Symptoms of Black Mold on Wood
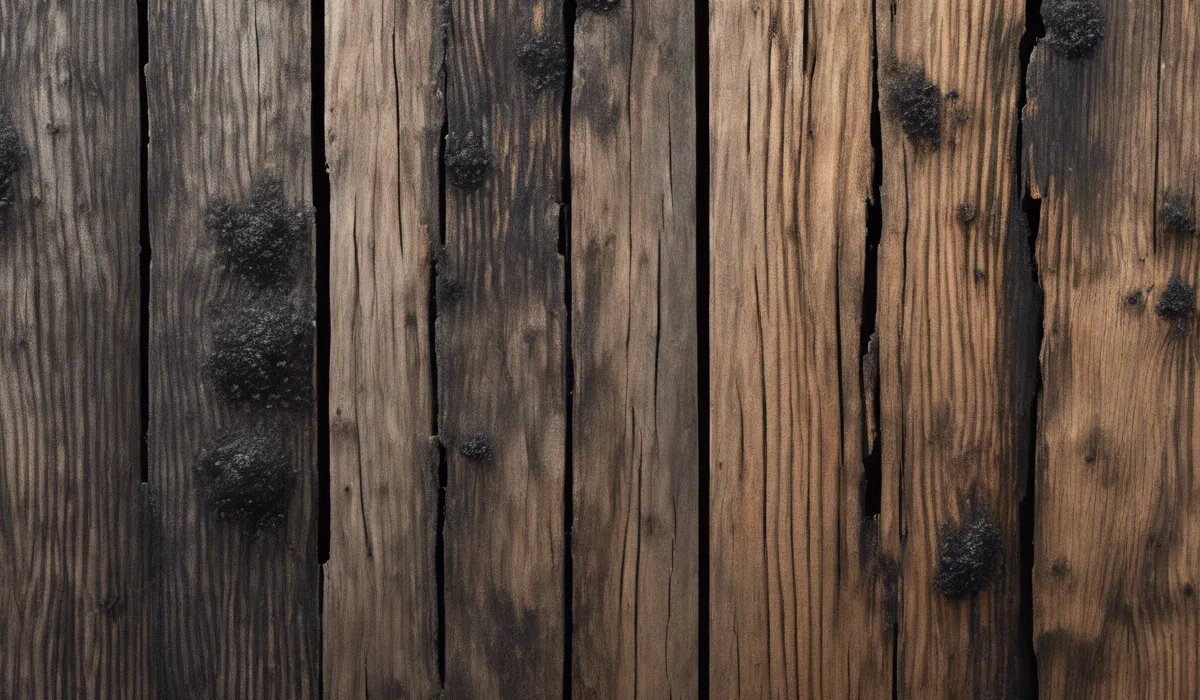
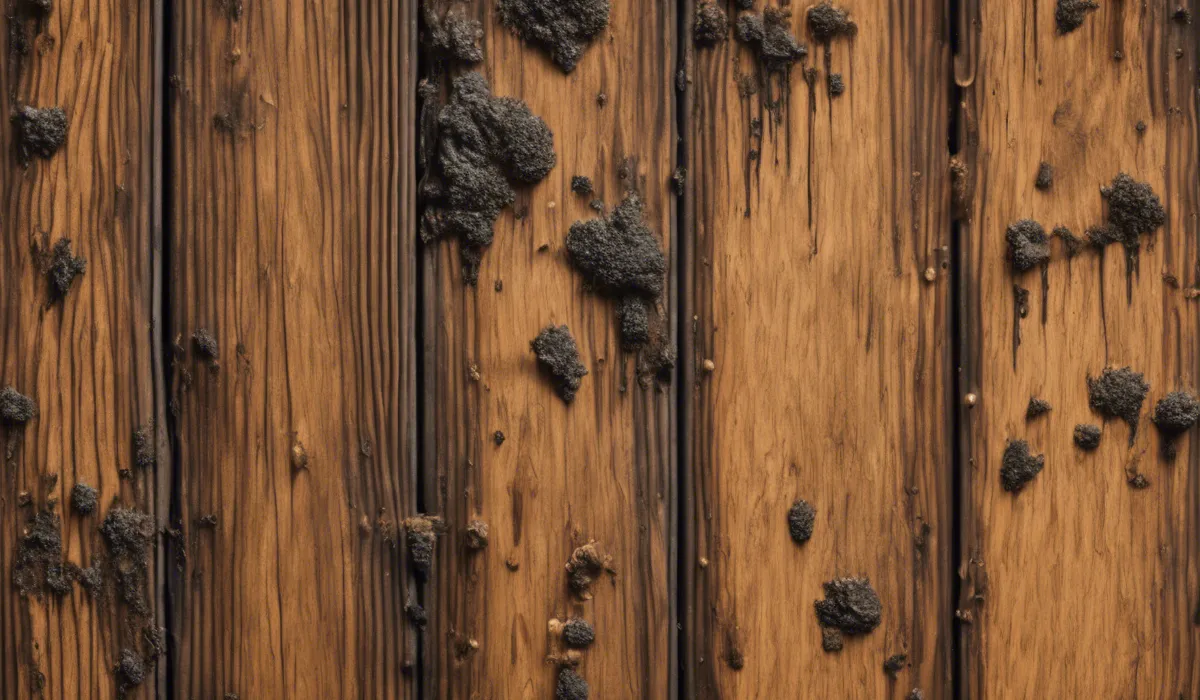
Identifying black mold on wood can be straightforward if you know what to look for. It often appears as irregularly shaped spots that can be black, dark green, or even gray.
The surface may look slimy or have a sooty texture. You might also notice a musty, earthy smell that can lead you to the presence of mold.
If the wood feels soft or crumbles easily, this could indicate that the mold has started to break down the material.
Health Risks Associated With Black Mold Exposure
Exposure to black mold can lead to various health issues, particularly in individuals with allergies, asthma, or weakened immune systems.
Symptoms can include coughing, sneezing, itchy eyes, and skin irritation. In more severe cases, it can cause respiratory infections or exacerbate asthma and allergy symptoms.
Being aware of these risks is important when dealing with mold in your home.
Preparing for Mold Removal
Safety Equipment and Precautions
Before you start removing mold, ensure your safety by wearing the right gear. This includes gloves, goggles, and an N-95 respirator mask to prevent inhaling mold spores.
Cover your skin with long sleeves and pants, and consider wearing disposable shoe covers. Safety is your top priority when dealing with potentially harmful substances.
Choosing the Right Cleaning Agents and Tools
Selecting appropriate cleaning agents and tools is essential for effectively removing mold. For natural solutions, a mix of vinegar and water is often recommended.
You’ll also need a stiff brush to scrub the mold from the wood, and plenty of clean cloths for wiping down surfaces. Choose tools that are sturdy and can withstand vigorous cleaning without falling apart.
Ventilation and Containment of the Area
Good ventilation is key when working with mold. Open windows and use fans to circulate fresh air and help dry out the area.
If the moldy area is large, consider sectioning it off with plastic sheeting to prevent spores from spreading to other parts of your home.
This containment will help you manage the mold more effectively and protect your home.
Step-by-Step Mold Removal Process
Dry Out the Affected Area
The first step in mold removal is to dry out the affected area. If there’s excess moisture, use dehumidifiers and fans to speed up the drying process.
Ensure that there are no leaks or sources of water that can contribute to the problem. Dry wood is less hospitable to mold, making it easier to clean and prevent future growth.
Scrubbing the Mold Off the Wood
Once the area is dry, mix a solution of equal parts vinegar and water. Apply this mixture directly to the moldy wood using a spray bottle or a cloth.
Then, take a stiff brush and scrub the mold from the wood with firm, even strokes. Be thorough, but careful not to damage the wood surface. After scrubbing, wipe the area with a clean cloth to remove any loose mold spores.
Disinfecting the Wood to Kill Any Remaining Spores
After scrubbing, it’s crucial to disinfect the wood to kill any remaining mold spores. You can use the same vinegar solution or a commercial anti-mold product.
Apply the disinfectant generously and let it sit for the recommended time before wiping it off. This step ensures that the wood is as free from mold as possible.
Proper Disposal of Mold and Cleaning Materials
Disposing of mold and cleaning materials correctly is vital. Seal moldy materials and used cleaning supplies in plastic bags before throwing them away.
This prevents spores from escaping and contaminating other areas. Always clean your tools thoroughly after use, or dispose of them if they cannot be cleaned adequately.
Preventative Measures to Avoid Future Mold Growth on Wood
To prevent future mold growth, keep wood surfaces dry and well-ventilated. Consider using a dehumidifier in damp areas of your home, and fix any leaks promptly.
If the wood is exposed to the elements, seal it with an anti-mold paint or varnish designed for outdoor use.
Regular inspections can help catch mold before it becomes a significant issue, maintaining a healthy home environment.
FAQs About Removing Black Mold from Wood
What is the best vinegar solution to remove black mold from wood?
The best vinegar solution is a mix of 1 part vinegar to 1 part water.
How should vinegar solution be applied to moldy wood?
Apply the vinegar solution directly to the moldy area on the wood.
What type of brush is recommended for scrubbing mold off wood?
A stiff brush is recommended for effectively scrubbing mold off wood.
After cleaning, how can I prevent mold from regrowing on wood?
Dry the wood completely after cleaning and consider sealing it with anti-mold paint to prevent regrowth.
Is it necessary to seal wood after removing mold, and with what?
It’s not necessary but can be beneficial to seal the wood with an anti-mold paint to prevent future mold growth.
Final Thoughts
Removing black mold from wood involves creating a 50/50 solution of vinegar and water, applying it to the affected area, and scrubbing with a stiff brush.
Afterward, it’s crucial to wipe the surface clean, thoroughly dry the wood to prevent mold return, and optionally seal it with anti-mold paint for added protection.