To remove mold from a rubber seal on a washing machine, create a 1:1 solution of water and white vinegar. Apply this to the moldy seal, letting it sit for 5-10 minutes. Then use an old toothbrush to scrub the mold away. Wipe the area clean with a cloth, and run a hot water cycle to rinse.
Identification and Pre-Cleaning Steps

Identifying Mold on the Rubber Seal
Spotting mold on your washing machine’s rubber seal is the first step to a cleaner appliance. Look for black or greenish spots along the seal’s grooves.
Sometimes, you might also notice a musty smell. This is a clear sign that mold has made a home in your washing machine.
It’s important to tackle this issue quickly to ensure a healthy environment in your home.
Preparing the Washing Machine
Before you start cleaning, make sure to unplug the washing machine. This is a safety step you should never skip.
Next, open the door and pull back the rubber seal to expose all the moldy areas. Ensure you have good lighting so you don’t miss any spots.
Gathering Necessary Cleaning Materials and Protective Gear
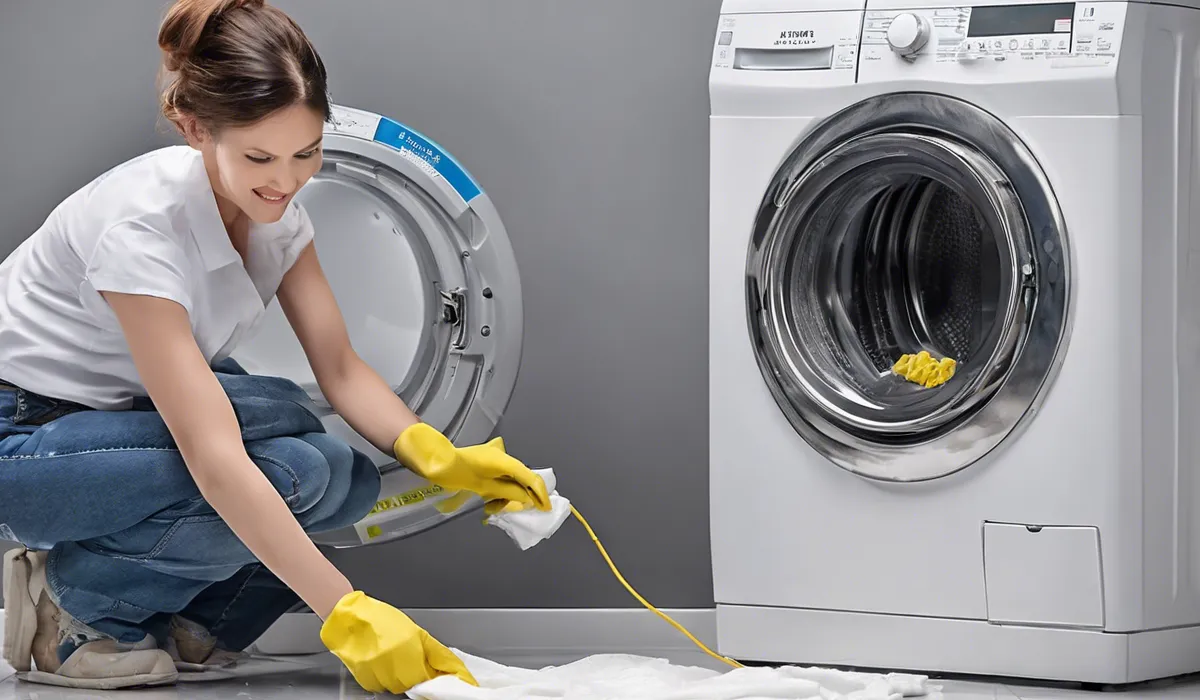
Gather your cleaning tools and wear protective gear. You’ll need gloves to protect your hands, a face mask to avoid inhaling spores, and goggles if you’re sensitive to mold.
For cleaning, grab a spray bottle, white vinegar, baking soda, an old toothbrush, and some clean cloths.
Initial Wiping and Removal of Debris
Start by wiping away any loose mold and debris with a damp cloth. This will make the deep cleaning process easier and more effective.
Make sure to reach into the folds of the seal where mold likes to hide. After wiping, throw the cloth into a plastic bag to keep mold spores contained.
Natural Cleaning Solutions

Mixing and Applying a Vinegar Solution
Create a mold-fighting solution by mixing equal parts water and white vinegar in a spray bottle. Spray the solution generously over the moldy areas of the rubber seal.
Let it sit for about 5 to 10 minutes. The acidity in vinegar helps break down mold and remove it from the surface.
Alternative: Baking Soda Paste Application
If you prefer not to use vinegar, make a paste with baking soda and water. Spread this paste onto the moldy areas of the seal.
Baking soda is a mild abrasive, which means it can scrub away mold without damaging the rubber.
Benefits of Using Natural Cleaners
Natural cleaners like vinegar and baking soda are safe for you and the environment. They don’t emit harmful fumes or leave behind toxic residues.
This means your family and pets aren’t exposed to dangerous chemicals. Plus, they are affordable and readily available in most households.
Timing and Procedure for Effective Mold Removal with Natural Solutions
After letting the vinegar solution or baking soda paste sit, it’s time to scrub. Use an old toothbrush to get into the seal’s crevices.
Scrub gently but firmly to remove the mold. Once you’re done, wipe the area clean with a damp cloth. Finally, run a hot water cycle to rinse away any remaining mold or cleaner.
Chemical Cleaning Methods and Maintenance

Choosing the Right Chemical Cleaner for Mold
When selecting a chemical cleaner, look for one that is specifically designed to kill mold.
Make sure it is safe to use on rubber, as some chemicals can degrade or damage the material. Read the label carefully and choose a product that fits your needs.
Step-By-Step Guide on Applying the Chemical Cleaner
Follow the instructions on the chemical cleaner’s label. Usually, you’ll need to apply the cleaner directly to the mold and let it sit for a specified period.
After the waiting time, scrub with a toothbrush to loosen and remove the mold. Wipe away any leftover cleaner with a clean, damp cloth.
Safety Precautions When Using Chemical Cleaners
Always wear gloves and a face mask when using chemical cleaners. Ensure the room is well-ventilated by opening windows or using a fan.
Keep children and pets away from the area until the cleaning process is complete and the fumes have dissipated.
Tips for Drying and Ventilating After Cleaning
After cleaning, leave the washing machine door open to allow the seal to dry completely.
This prevents moisture build-up, which could lead to more mold growth. If possible, use a fan to circulate air and speed up the drying process.
Regular Maintenance to Prevent Mold Recurrence
To keep mold at bay, wipe the rubber seal after each use and leave the door ajar to dry out the washing machine.
Clean the seal with a vinegar solution once a month as part of your regular maintenance routine.
Avoid using excessive detergent and fabric softener, as these can leave residues that encourage mold growth.
FAQs About Removing Mold from Rubber Seal on Washing Machine
What is the best homemade solution for cleaning mold off a washing machine rubber seal?
A 1:1 solution of water and white vinegar is an effective homemade cleaner for removing mold from a washing machine rubber seal.
How long should the vinegar solution sit on the moldy rubber seal before cleaning?
Let the vinegar solution sit on the moldy rubber seal for about 5-10 minutes before scrubbing.
Can I use an old toothbrush to clean mold off a washing machine rubber seal?
Yes, an old toothbrush is an ideal tool for scrubbing mold away from the crevices of a washing machine rubber seal.
What should I do after scrubbing the mold off the rubber seal?
After scrubbing, wipe the area clean with a cloth and run a hot water cycle to thoroughly rinse the seal.
Is it necessary to run a washing cycle after cleaning the mold off the rubber seal?
Yes, running a hot water cycle after cleaning helps to rinse away any remaining mold and cleaning solution.
Final Thoughts
To tackle mold on your washing machine’s rubber seal, mix equal parts water and white vinegar for an effective solution.
Apply it to the affected area and let it sit for a short period. Scrub the mold off with a toothbrush and wipe clean. Finally, a hot water cycle will ensure a thorough rinse.
