To repair mold damage, first identify and eliminate the moisture source. Clean the area with a mold-killing solution, then remove or replace any damaged materials. Dry the area thoroughly before restoring surfaces with mold-resistant paint or finishes.
Assessing the Extent of Mold Damage

Identifying Visible Mold and Discoloration
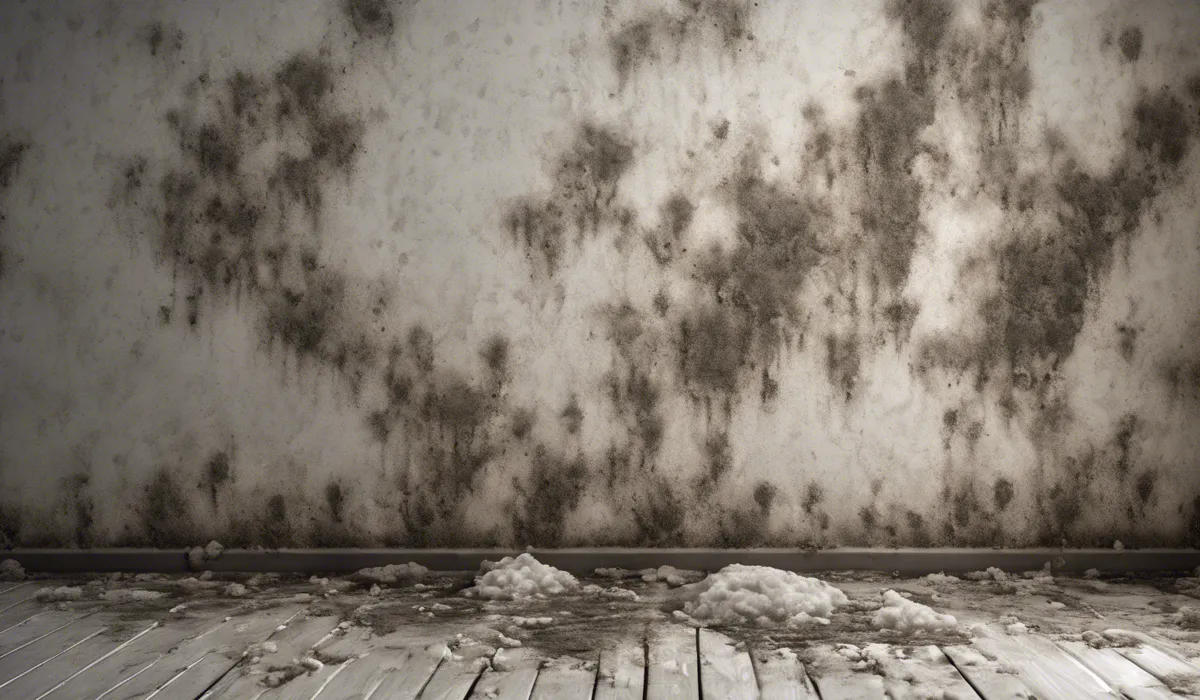
The first step in tackling mold is identifying its presence. Mold can appear as black, white, green, or even orange spots on surfaces.
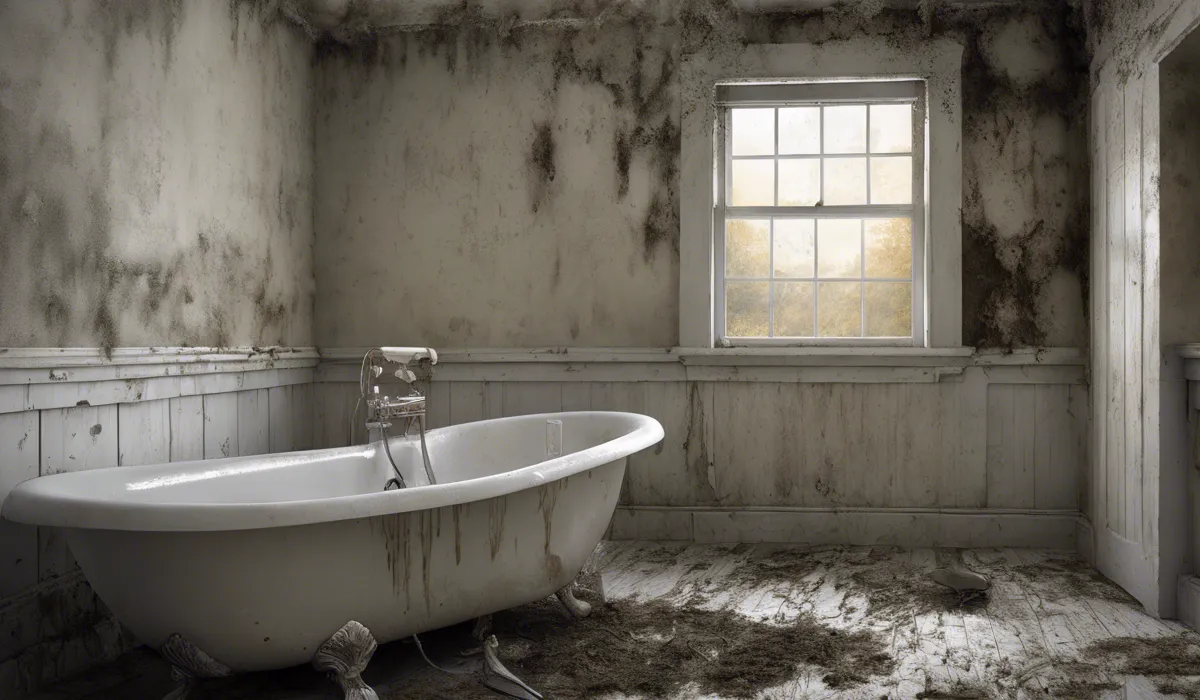
It often causes discoloration and can be spotted on walls, ceilings, and floors. Look for irregular patches that differ from the original color of the material.
It’s essential to examine areas prone to moisture, such as bathrooms, kitchens, and basements.
Recognizing Musty Odors as Indicators of Hidden Mold
A musty odor is a strong indicator that mold is present, even if it’s not visible. This smell is a result of microbial volatile organic compounds (MVOCs) that mold releases as it grows.
If you notice a persistent earthy or musty scent, it’s time to investigate further.
Using Moisture Meters to Detect Unseen Mold
Moisture meters are valuable tools for detecting mold hidden behind walls or under floors.
These devices measure the moisture content of materials, and high readings can indicate potential mold growth areas. It’s essential to scan the entire area to pinpoint all affected spots.
Consulting with Professionals for Thorough Inspection
When in doubt, consult with a professional mold inspector. They can perform a comprehensive assessment, using advanced tools such as infrared cameras to detect mold that’s not immediately visible.
A thorough inspection ensures that no moldy area is overlooked.
Determining the Type of Mold for Appropriate Remediation Techniques
Understanding the type of mold you’re dealing with is crucial. Some molds, like Stachybotrys chartarum (black mold), can be more harmful and require specific remediation protocols.
A professional can take samples for laboratory analysis to determine the mold species and the best course of action.
Preparing for Mold Remediation

Ensuring Safety by Wearing Protective Gear
Before handling mold, equip yourself with protective gear. You should wear an N-95 respirator, gloves, and goggles.
These items will protect you from inhaling spores and from mold contact with skin and eyes. Safety is paramount when dealing with potential health hazards.
Isolating the Affected Area to Prevent Mold Spore Spread
Isolate the area with plastic sheeting and tape to contain the mold spores. This step is essential to prevent cross-contamination to other parts of your home.
Use an air purifier with a HEPA filter to capture airborne spores within the contained area.
Removing Water-Damaged and Mold-Infested Materials
Materials like carpet, drywall, or insulation that have been water-damaged and infested with mold should be removed.
These items are often unsalvageable and can harbor mold deep within. Proper disposal is necessary to ensure complete mold removal.
Cleaning Items That Can Be Salvaged
Some items may be cleaned and saved. Non-porous materials like glass, plastic, and metal can often be cleaned with a mold-killing solution.
Make sure to dry these items thoroughly to prevent the mold from returning.
Addressing the Moisture Source to Prevent Future Mold Growth
Identify and fix the source of moisture that allowed the mold to grow. Whether it’s a leaky pipe, poor ventilation, or high humidity, correcting these issues will help prevent mold from reoccurring.
Repairing and Restoring the Area

Cleaning and Disinfecting Walls, Floors, and Other Surfaces
After removing mold-infested materials, clean and disinfect all surfaces. Use a solution approved for killing mold, and be thorough. Pay special attention to crevices and hidden areas where mold spores might linger.
Using Mold-Resistant Materials for Repairs and Rebuilds
When repairing and rebuilding, choose mold-resistant materials like moisture-resistant drywall or paint with mold inhibitors.
These materials can prevent mold from taking hold again, especially in areas with high moisture levels.
Replacing Damaged Materials Like Drywall, Insulation, and Carpeting
Replace all materials that were removed during the remediation process. Use new, dry materials to ensure that your space is restored to a safe, mold-free condition. Proper installation is key to preventing future mold problems.
Testing the Environment to Confirm Mold Removal
Once repairs are complete, test the environment for mold spores. This step confirms that the remediation was successful and that the air quality is safe. Professional mold testing services can provide a thorough assessment.
Implementing Preventive Measures to Maintain a Mold-Free Space
Maintain your space with preventive measures like controlling humidity levels, ensuring proper ventilation, and promptly addressing any water leaks. Regular cleaning and inspections will help keep mold at bay.
The process of assessing, preparing for, and repairing mold damage is comprehensive and requires attention to detail.
By following the steps outlined above and using mold-resistant materials, you can restore your space to a healthy environment.
Remember, the key to mold control is moisture control. If you need additional resources on home maintenance or repairs, such as finding the right ceiling box size or selecting the proper toilet flange bolts, be sure to explore our other helpful guides for accurate and reliable information.
FAQs About Repairing Mold Damage
How do I identify the moisture source causing mold?
Inspect the area for signs of leaks, condensation, or high humidity. Check for damp surfaces, water stains, or peeling paint which can indicate a moisture problem.
What is the best mold-killing solution to use for cleaning?
Use a solution of bleach and water (typically one cup of bleach to one gallon of water) or a commercial mold-killing product following the manufacturer’s instructions.
Do I need to remove moldy materials or can they be cleaned?
Porous materials like drywall or carpet that are moldy usually need to be removed and replaced. Non-porous materials can often be cleaned and disinfected.
How can I ensure the area is dry enough before restoring surfaces?
Use dehumidifiers and fans to dry out the area completely for at least 24-48 hours after cleaning and removing damaged materials before applying any new finishes.
What type of paint or finish should I use to prevent future mold growth?
Choose mold-resistant paint or finishes specifically designed to inhibit mold growth, and ensure the area remains well-ventilated to reduce moisture.
Final Thoughts
Repairing mold damage necessitates a systematic approach. Begin by addressing the root cause: moisture. Once this is under control, use a mold-killing solution to clean affected areas.
Damaged materials should be discarded or replaced. Ensure the area is completely dry before applying mold-resistant finishes to prevent future growth and safeguard the repaired surfaces.
