To use Mold Armor, first ensure the area is dry. Spray Mold Armor on the affected surface, wait 10 minutes, then scrub if necessary.
Rinse the area thoroughly with water. Repeat if needed for tough mold stains. Always wear protective gear and follow the label instructions.
Understanding Mold Armor and Its Uses
What is Mold Armor?
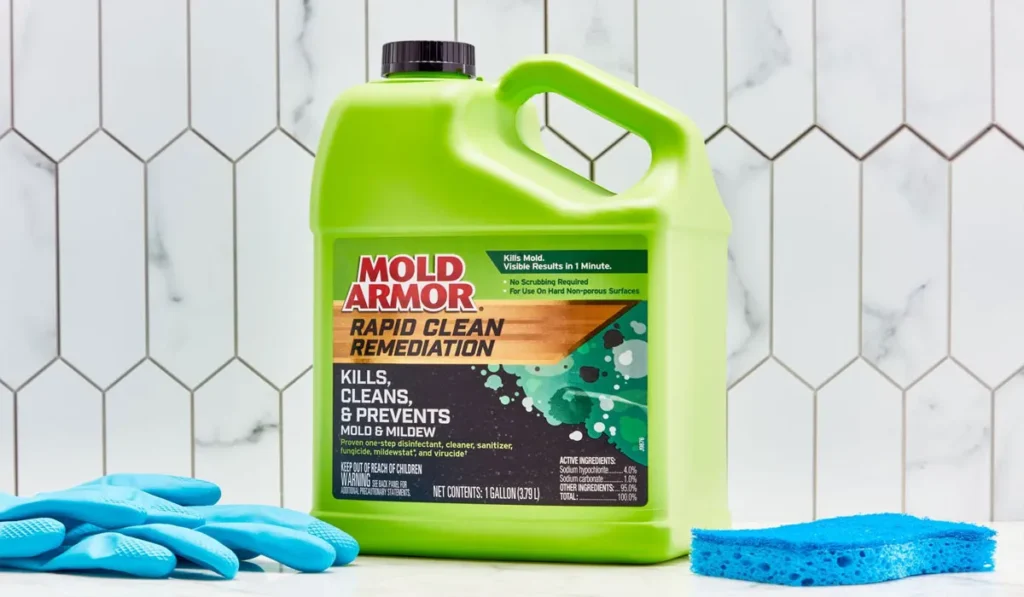
Mold Armor is a brand of cleaning products designed specifically to target and eliminate mold and mildew. Its purpose is to provide homeowners and maintenance crews with an effective way to clean surfaces that have been affected by these types of fungi.
Mold Armor products are formulated to kill mold and mildew spores, preventing their return and keeping areas clean and healthy.
Varieties of Mold Armor Products
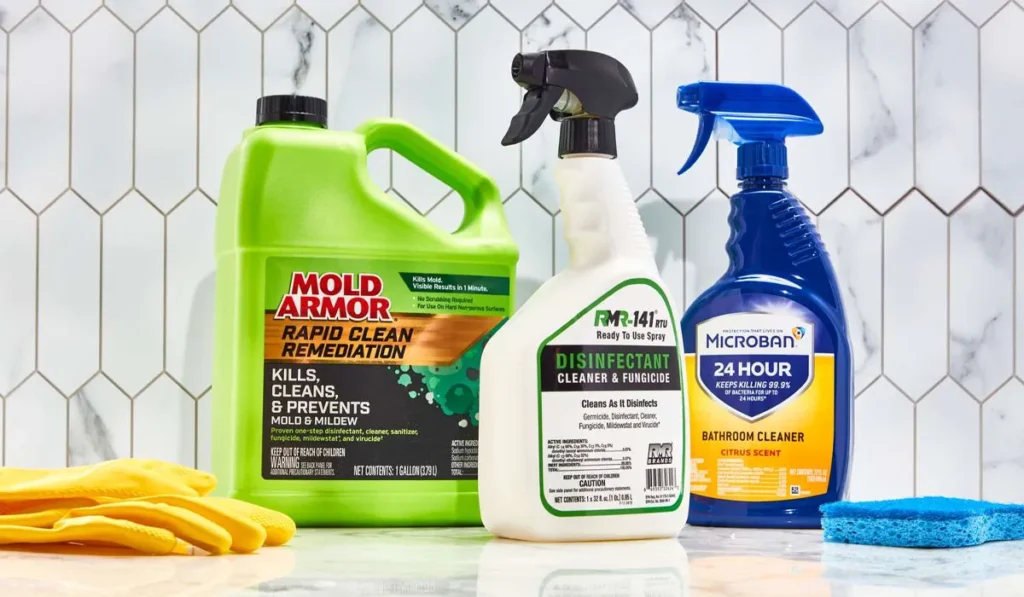
There are several Mold Armor products available, each tailored for different uses and surfaces.
Some of these include sprays for outdoor siding, eaves and gutters, bathroom cleaners designed for tile and grout, and mold blockers to prevent future growth.
These products are made to be versatile and cater to both indoor and outdoor cleaning tasks.
Applicable Surfaces for Mold Armor
Mold Armor can be used on a variety of surfaces. Inside your home, it works on tiled surfaces, grout, showers, and bathtubs.
Outdoors, it can be applied to siding, roofs, gutters, and decks. Mold Armor is effective on materials such as wood, concrete, vinyl, and plastic, making it a comprehensive solution for mold issues.
Safety Measures with Mold Armor
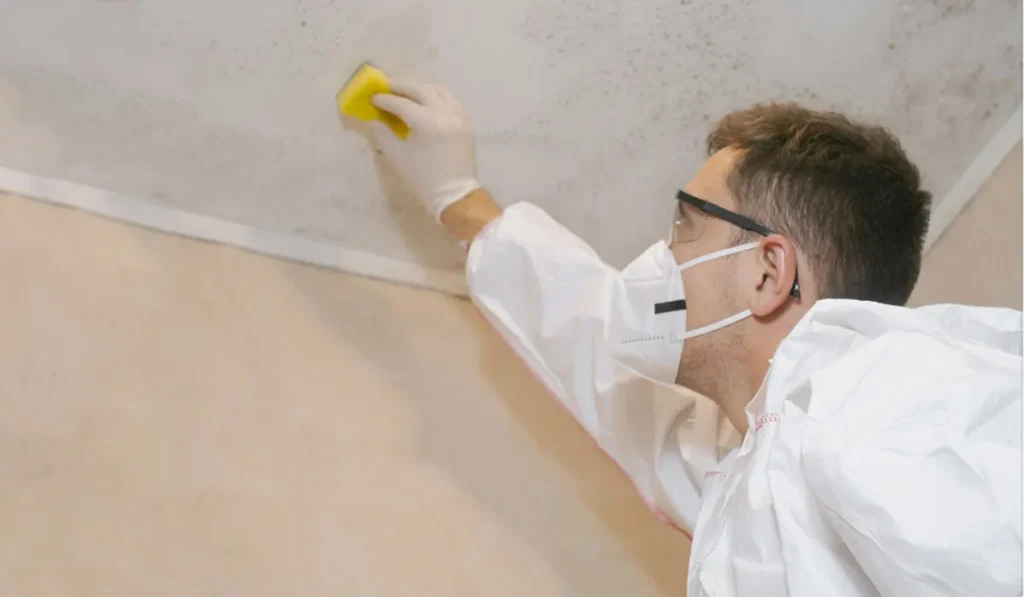
When using Mold Armor, it’s important to take precautions to ensure your safety. Always wear protective gear such as gloves, eye protection, and a mask to avoid inhaling fumes or getting the product on your skin.
Ensure the area is well-ventilated, especially when working indoors. Keep children and pets away from treated areas until they are dry and safe to touch.
Step-by-Step Guide to Using Mold Armor
Preparing the Treatment Area
Before applying Mold Armor, clear the area of any items. Make sure the surface is dry. Protect surrounding areas with plastic sheeting or newspapers to prevent damage from overspray or runoff.
Mixing and Diluting Mold Armor
Some Mold Armor products may require dilution before use. Always read the label for specific instructions.
Use the recommended amount of water to dilute the product if necessary, and mix well to ensure effectiveness.
Application Techniques
To apply Mold Armor, use a spray bottle or a garden sprayer for larger areas. Coat the affected surface evenly, ensuring full coverage. For tough stains, use a brush to scrub the area gently after applying the product.
Dwell Time and Guidelines
After application, leave Mold Armor on the surface for at least 10 minutes. This dwell time allows the product to penetrate and kill the mold spores.
Some products may have different recommended dwell times, so adhere to the label’s guidelines.
Rinsing and Cleaning Post-Application
Once the appropriate dwell time has passed, rinse the area thoroughly with water. If you are working indoors, use a clean, damp cloth to wipe the surface.
For outdoor areas, a hose or pressure washer can be used to rinse off the product. Be sure to remove all residue to prevent any potential slip hazards.
Maintenance and Prevention Tips
Regular Cleaning Schedule
To prevent mold and mildew from returning, establish a regular cleaning schedule. Use Mold Armor for routine cleanings, focusing on areas that are prone to moisture and dampness.
Consistent cleaning can significantly reduce the chances of mold and mildew taking hold again.
Preventative Products
Mold Armor offers products specifically designed for prevention. After cleaning areas where mold has been an issue, consider applying a mold blocker product to create a barrier that inhibits mold and mildew growth for an extended period.
Keeping Areas Dry and Ventilated
Moisture control is key to preventing mold. Use dehumidifiers in damp areas, ensure proper ventilation in bathrooms and kitchens, and fix leaks promptly. Good airflow helps to keep surfaces dry and discourages mold growth.
Recognizing Signs of Mold
Be on the lookout for early signs of mold and mildew, such as musty odors, discoloration on walls or ceilings, and increased allergy symptoms. Addressing these signs quickly can prevent more significant mold problems in the future.
FAQs About Using Mold Armor
How do I prepare the surface before applying Mold Armor?
Ensure the area is dry before spraying Mold Armor on the affected surface.
What should I do after spraying Mold Armor on the mold?
After spraying, wait for 10 minutes, then scrub the area if necessary before rinsing thoroughly with water.
Is it necessary to rinse the surface after using Mold Armor?
Yes, you should rinse the area thoroughly with water after the application of Mold Armor.
What should I do if one application of Mold Armor is not enough?
If tough mold stains persist, repeat the application process as needed.
What safety measures should I take when using Mold Armor?
Always wear protective gear and follow the label instructions when using Mold Armor.
Final Thoughts
To effectively use Mold Armor, start with a dry area. Apply the product and allow it to sit for 10 minutes. Scrub as needed to remove stubborn mold.
Afterward, rinse the surface well. For persistent stains, a second application might be required. Safety is crucial; always wear protective gear and adhere to the product’s instructions.